If you're looking to create more space and light in your Bridgeport home, installing an attic dormer could be the perfect solution. Dormers not only add character to your roof but also provide valuable additional living space. This article will guide you through the key aspects of attic dormer installation, from planning and permits to construction and maintenance.
Key Takeaways
Dormers can enhance both space and light in your home.
There are several dormer styles to choose from, including gable, shed, and hip dormers.
Planning is crucial; consider your budget and whether to hire professionals.
Understanding local building codes is essential before starting your project.
Regular maintenance can help avoid costly repairs in the future.
Understanding Attic Dormer Installation in Bridgeport
Adding a dormer to your home can significantly enhance its space and style. Dormers not only create more room but also improve the overall look of your house. Here’s what you need to know:
Benefits of Adding a Dormer
Increased Space: Dormers provide extra headroom and floor space, making your attic more usable.
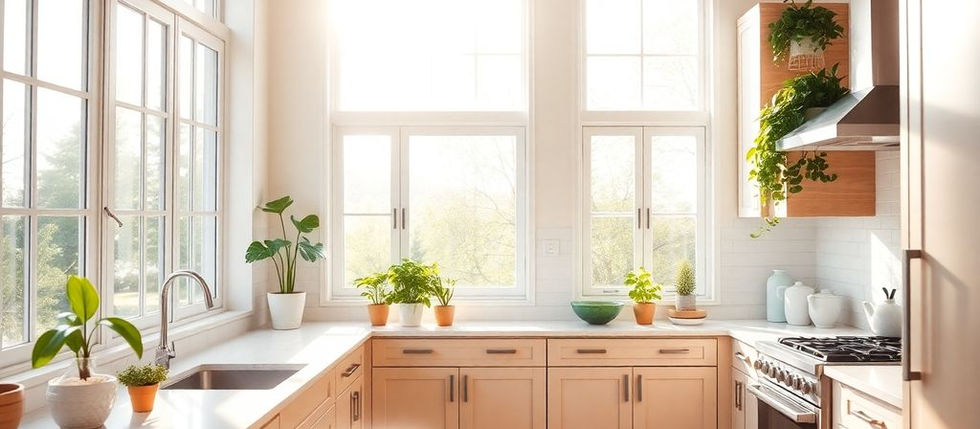
Natural Light: They allow more sunlight into your home, brightening up dark areas.
Improved Ventilation: Dormers can enhance airflow, making your home feel fresher.
Common Dormer Styles
There are three main styles of dormers:
Gable Dormer: Great for airflow and light.
Shed Dormer: Ideal for bungalows, maximizing living space.
Hip Dormer: Larger than gable dormers, perfect for adding space to small rooms.
Choosing the Right Dormer for Your Home
When selecting a dormer, consider:
Your home’s architectural style
The purpose of the added space
Your budget, as costs can vary significantly
Planning Your Dormer Installation Project
Initial Considerations
When planning your dormer installation, there are several important factors to think about:
Purpose of the Dormer: Are you looking for more space, light, or both?
Style Preference: Choose a style that matches your home’s architecture.
Budget: Determine how much you can spend on the project.
Budgeting for Your Dormer
Creating a budget is crucial. Here’s a simple breakdown of potential costs:
Remember: Costs can vary based on the complexity of the design and local market rates.
Hiring a Professional Contractor
Finding the right contractor is key to a successful dormer installation. Here are steps to follow:
Research: Look for contractors with good reviews and experience in dormer installations.
Get Quotes: Ask for estimates from multiple contractors to compare prices.
Check Credentials: Ensure they are licensed and insured.
By taking these steps, you can ensure a smoother process for your dormer installation project, making your home more spacious and inviting!
Navigating Permits and Regulations
Understanding Local Building Codes
Before starting your attic dormer project, it's crucial to understand the local building codes. These codes ensure that your construction is safe and compliant with regulations. Familiarizing yourself with these codes can save you time and money.
How to Apply for Permits
Applying for permits can seem daunting, but it’s a necessary step. Here’s a simple guide to help you:
Research: Check your local government’s website for specific requirements.
Prepare Documents: Gather necessary documents like plans and specifications.
Submit Application: Fill out the application form and submit it along with the required fees.
Common Permit Issues and Solutions
Sometimes, issues can arise during the permit process. Here are a few common problems and how to address them:
Incomplete Applications: Ensure all required documents are submitted.
Zoning Conflicts: Verify that your project complies with zoning laws.
Delays in Approval: Follow up regularly to check the status of your application.
By navigating these regulations carefully, you can avoid potential setbacks and enjoy your new space sooner!
Construction Process of Attic Dormers
Preparing Your Attic Space
Before starting the construction of your dormer, it’s essential to prepare your attic. Here are some steps to follow:
Clear out the area: Remove any items that may obstruct the work.
Inspect the structure: Check for any issues with the beams or roof that need fixing.
Plan the layout: Decide how you want to use the new space, whether for a bedroom, office, or play area.
Step-by-Step Construction Guide
The construction of an attic dormer involves several key steps:
Obtain necessary permits: Ensure you have all the required permits before starting.
Frame the dormer: Build the frame according to your design.
Install roofing and siding: Add roofing materials and siding to match your home’s exterior.
Add windows: Install windows to allow natural light into the space.
Finish the interior: Insulate and drywall the interior to make it livable.
Post-Construction Inspections
After the dormer is built, it’s crucial to conduct inspections:
Check for leaks: Ensure there are no leaks in the roof or around the windows.
Inspect insulation: Make sure insulation is properly installed to maintain energy efficiency.
Review structural integrity: Confirm that the dormer is securely attached and safe for use.
By understanding the construction process, you can make informed decisions and enjoy the benefits of your new attic dormer. Remember, proper planning and execution are key to a successful project!
Maximizing Space and Light with Dormers
Design Tips for More Space
To make the most of your new dormer, consider these tips:
Use multi-functional furniture to save space.
Create built-in storage solutions to keep the area tidy.
Choose light colors for walls and furniture to make the space feel larger.
Enhancing Natural Light
Adding a dormer can significantly increase the amount of natural light in your home. Here are some ways to enhance it:
Install large windows or skylights to let in more sunlight.
Use reflective surfaces like mirrors to bounce light around the room.
Keep window treatments light and airy to maximize brightness.
Improving Ventilation and Airflow
Good airflow is essential for a comfortable living space. Here are some tips:
Open windows regularly to let fresh air in.
Consider adding vents to improve circulation.
Use ceiling fans to help distribute air evenly.
By following these tips, you can create a bright, spacious, and airy environment in your attic with a dormer addition. Transform your attic into a cozy retreat that enhances your home's overall appeal!
Cost Factors in Attic Dormer Installation
Material Costs
When planning for an attic dormer installation, understanding the material costs is crucial. Here’s a breakdown of typical expenses:
Choosing quality materials can significantly impact the overall durability and appearance of your dormer.
Labor Expenses
Labor costs can vary based on the complexity of the project and the contractor's experience. Here are some factors to consider:
Experience Level: More experienced contractors may charge higher rates.
Project Complexity: Complicated designs will require more skilled labor.
Location: Costs can differ based on your area, with urban locations often being pricier.
Unexpected Costs to Consider
While budgeting, it’s wise to set aside funds for unexpected expenses. Here are common surprises:
Structural Repairs: Hidden issues in the attic may need fixing.
Permit Fees: Local regulations may require additional permits.
Design Changes: Last-minute changes can increase costs.
By understanding these cost factors, you can better prepare for your attic dormer project and ensure a smoother installation process.
Maintaining Your New Dormer
Regular Maintenance Tips
To keep your dormer in great shape, follow these simple tips:
Inspect the roof regularly for any signs of damage or wear.
Clean gutters and downspouts to prevent water buildup.
Check for leaks around windows and seams.
Identifying Potential Issues Early
Being proactive can save you money and hassle. Look out for:
Water stains on walls or ceilings.
Drafts or unusual temperature changes in the room.
Cracks in the walls or ceiling.
When to Call a Professional for Repairs
If you notice any of the following, it’s time to get help:
Major leaks that you can’t fix yourself.
Structural issues that seem serious.
Problems with insulation or ventilation.
Final Thoughts on Attic Dormer Installation
Adding a dormer to your attic can really change your home for the better. It not only gives you more space but also brings in fresh air and sunlight, making your rooms feel bigger and brighter. With different styles like gable, shed, and hip dormers, you can choose one that fits your needs and style. If you're in Bridgeport and thinking about this upgrade, it's a smart move that can boost your home's value and comfort. Don't hesitate to reach out to local experts who can help you with the installation process.
Frequently Asked Questions
What is a dormer and why should I add one to my home?
A dormer is a structure that sticks out from the roof of your house. It can give you more space and light in your attic or upper rooms, making them more comfortable.
What are the different styles of dormers?
There are three main types of dormers: gable, shed, and hip. Gable dormers are great for extra light and airflow, shed dormers are good for bungalows, and hip dormers can make small rooms feel bigger.
How much does it cost to install a dormer?
The cost can vary a lot. Simple gable dormers might cost around $3,000, while more complex styles can go over $10,000.
Do I need a permit to add a dormer?
Yes, you usually need a permit for a dormer installation. It's best to check with your local building department.
How long does it take to build a dormer?
The time it takes can differ based on the style and size of the dormer, but it typically takes a few weeks to complete the project.
What should I do to maintain my new dormer?
Regularly check for leaks and clean the gutters. If you notice any issues, it’s best to call a professional for help.


Comments